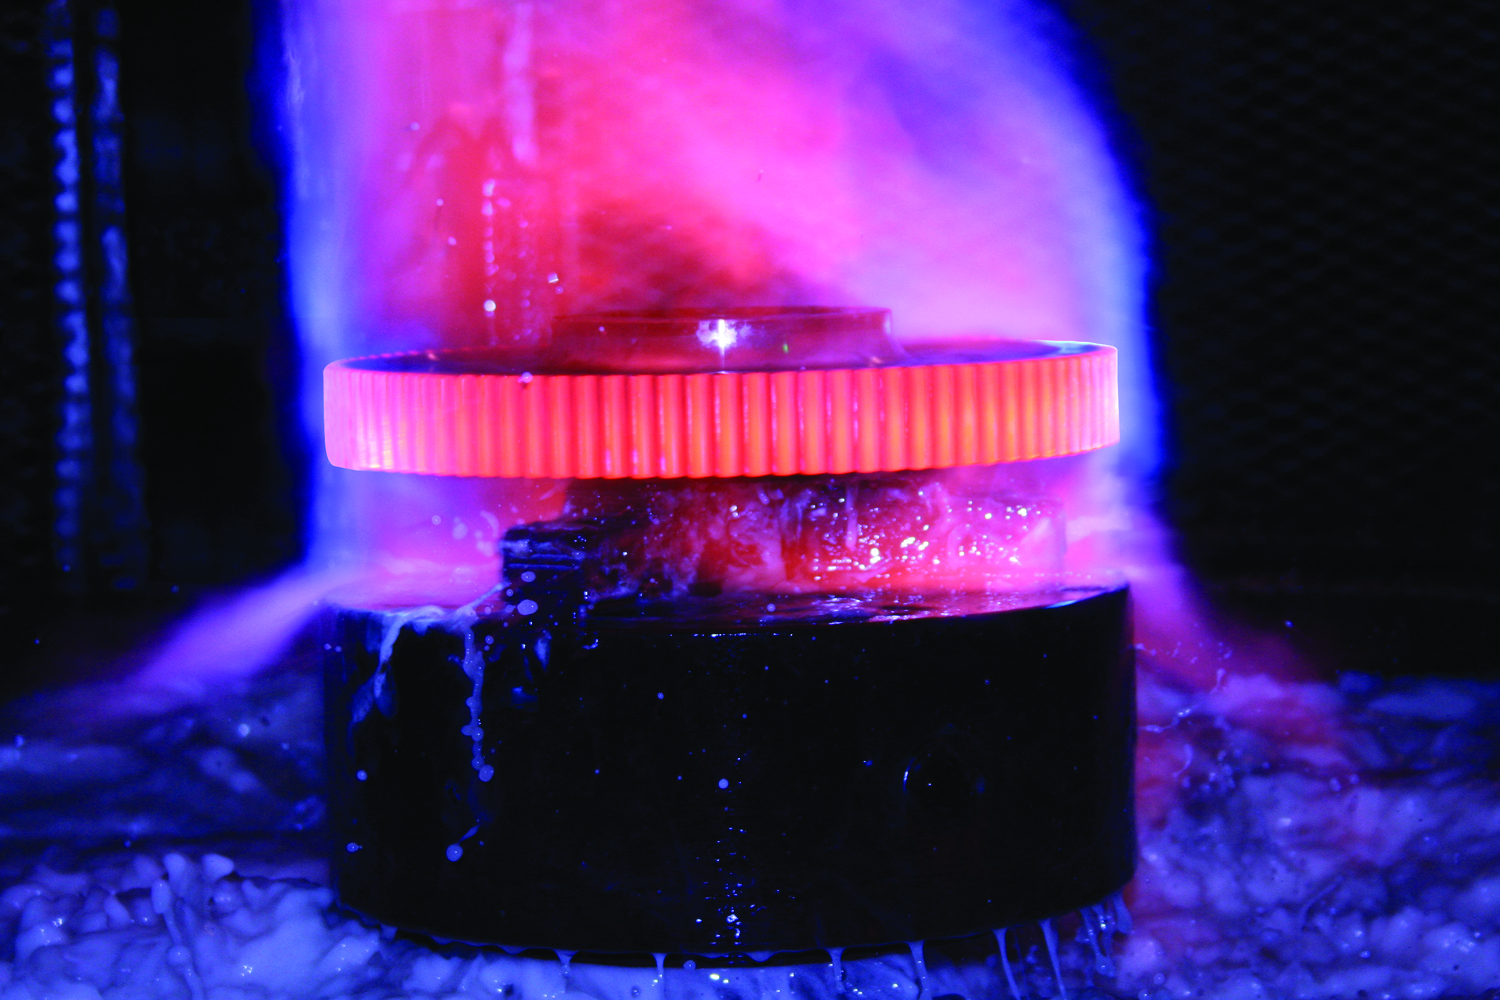
Long gone are the days when a machine operator sat in a dark corner of the shop staring at the cherry red glow of a gear being flame hardened. Typically the “craftsman” would wear dark welding glasses and make the decision that the color looked good just before the water spray quench completed the hardening process. This was an acceptable practice many years ago, but one that Penna Flame was eager to improve upon with the use of new technology.
 In 2007 Penna Flame started to investigate how to automate manual scanning of parts, which included gear teeth, lead to a partnership with Robert Morris University’s robotic engineering department. Faculty and engineering students worked together with Penna Flame to design and develop a robotic flame hardening cell that was installed in April 2008. This robotic flame hardening cell allowed for unmatched uniformity and repeatability in the “precision surface hardening” of steel products such as gears, races, rings and other high volume production runs. For gear manufacturers in particular, the ability to focus the heat and scan each tooth with the upmost precision every time is especially beneficial. The process has been so successful that Penna Flame now has a total of three robotic cells, the most recent installed in 2011.
Before processing, gears (of all sizes) are pre-heated in an oven for several hours. They are then loaded on an indexing table that is programmed to work in conjunction with a robot. Once the robot completes the scanning of a tooth (achieving a flank or a root pattern) the table indexes so the teeth are not hardened in sequence. This helps to limit the amount of distortion by evenly distributing the heat evenly around the circumference of the part. Throughout the hardening process, the gear temperature is controlled. Once all teeth are scanned, the gears are placed into an immediate holding temper. Inspection the following day, of as quenched hardness, will determine the final tempering temperature.
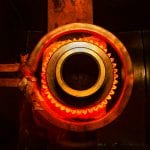
In addition to the robotic individual tooth scanning process, depending on the diameter and DP, gears are often hardening using the spin flame hardening technique. Gears are again pre-heated for several hours and then placed on a spin hardening machine. The gears will rotate in front of several heating heads for a period of time. Temperature is monitored and once the predetermined austenitizing temperature is reached, the gear is dropped into an agitated polymer quench bath. Once removed from the quench, the gear is placed into an immediate hold temper and allowed stabilization. This process typically through hardens the gear teeth, but in many applications, that is acceptable and often desired.
 A gears as quenched structure prior to tempering is very hard and brittle and lacks good mechanical properties–namely toughness, ductility, and is highly stressed and dimensionally unstable. Proper furnace tempering coordinating both furnace time and temperature with the gears chemical grade and specification requirements optimizes surface properties while hitting the required surface hardness for a particular application.
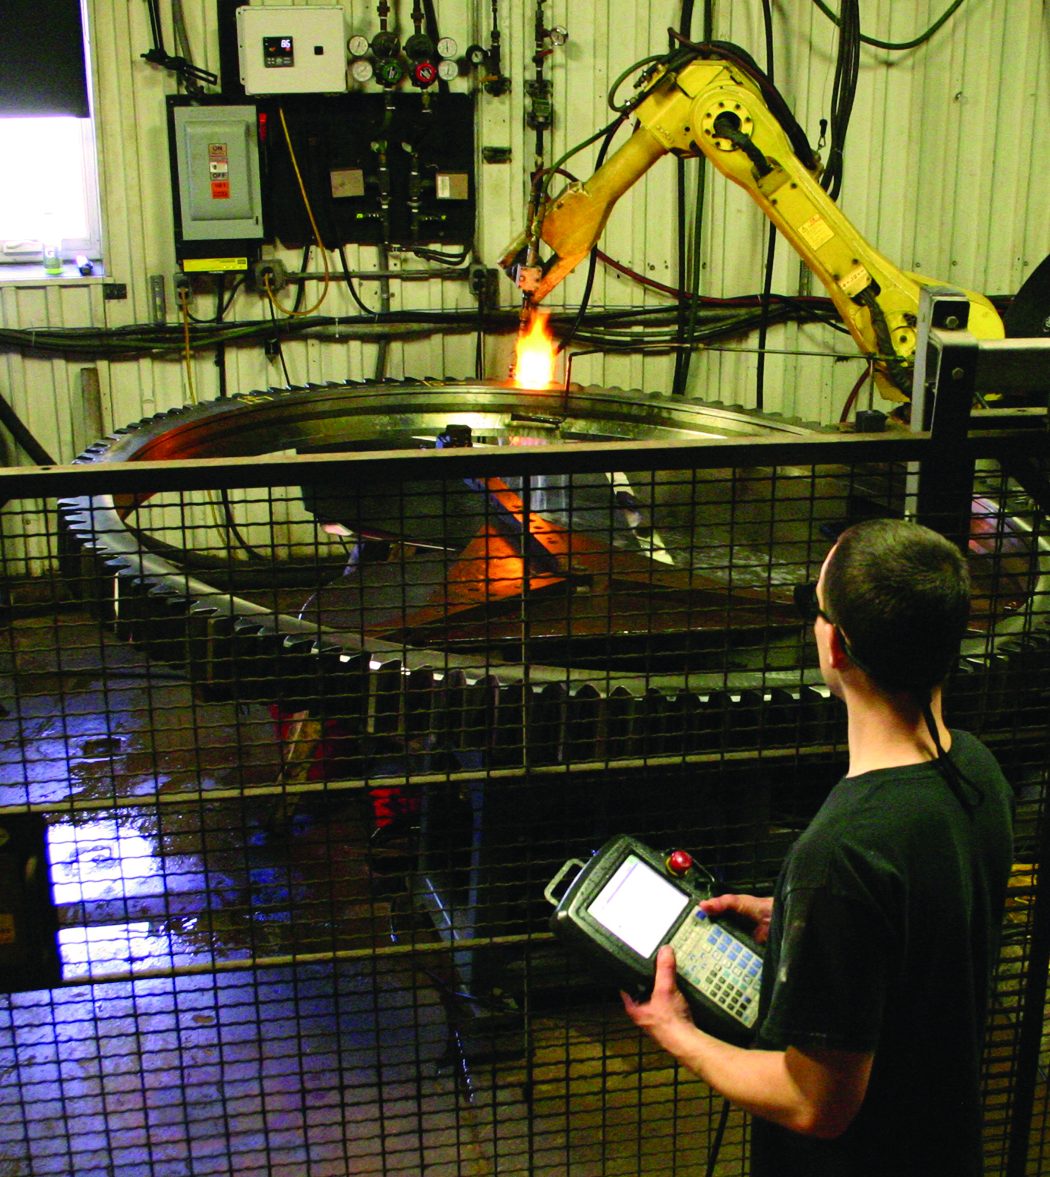 Over the years, Penna Flame has added controls to their gear hardening process that have been quite significant. Utilizing digital regulators, flow controls, quench temperature regulation, and digital, high speed non-contact infrared thermometers is as much a key to process control as the robot and spin hardening machine. Each pyrometer is equipped with laser sighting, which allows for pinpoint placement for extreme accuracy of surface temperature monitoring. Pre-heat temperature, austenizing temperature at time of quenching, and residual temperature are all key elements in the gear hardening process.
Working closely with the manufacturers on the latest technology has been the key to both the success of the precision surface hardening process and the end product to the customer.


