AMS2750 pyrometry is a daunting heat-treat special process requirement in the aerospace industry. It’s a literal definition implying measurement of temperature, but it also defines a measurement system of extreme detail and consistency for a given heat-treat process. It is a specification that brings clarity to a process of bringing control to heat-treat, but also one that creates a headache if the parameters are not fully understood — not only from the technical requirements, but from a realization as to why these requirements are necessary.
The scope of the specification
By definition, “This specification covers pyrometric requirements for equipment used for the thermal processing of metallic materials. Specifically, it covers temperature sensors, instrumentation, thermal processing equipment, correction factors and instrument offsets, system accuracy tests, and temperature uniformity surveys. These are necessary to ensure that parts or raw materials are heat-treated in accordance with the applicable specification(s).”
The breakdown
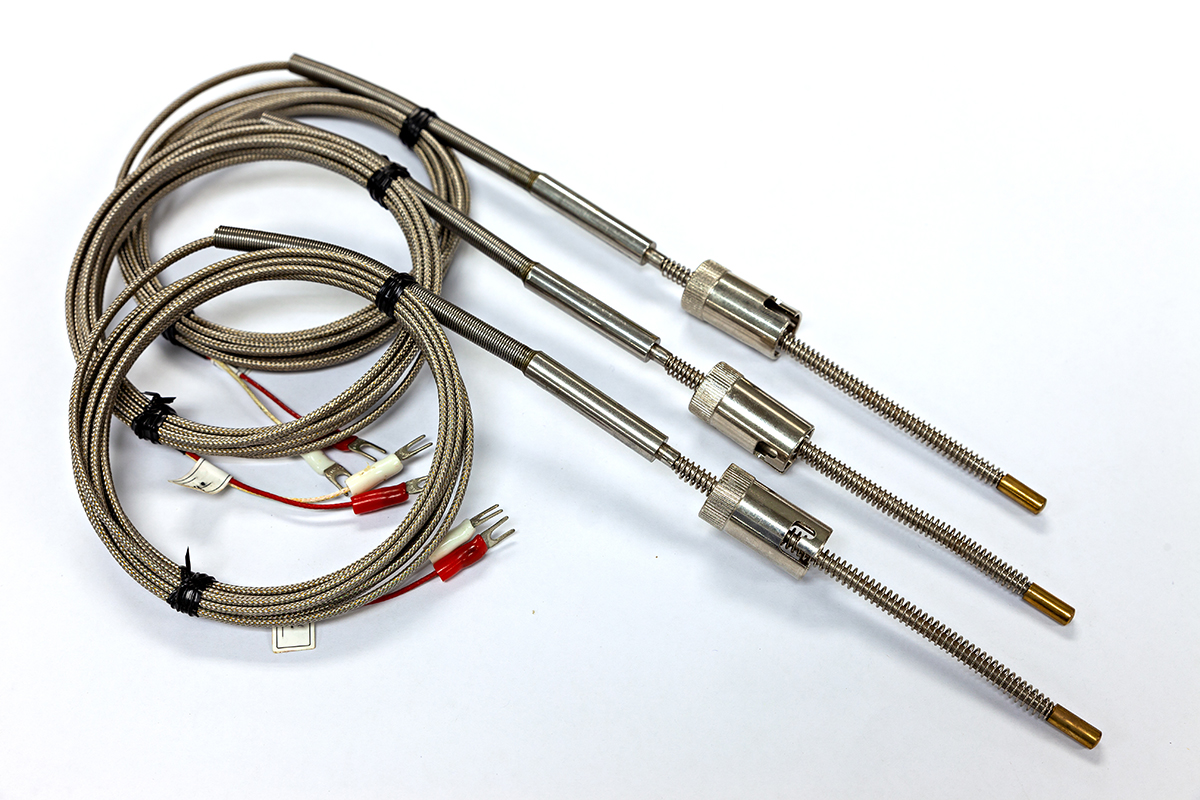
Sensors equal the eyes into the furnace. The Seebeck Effect describes when two dissimilar metals join together, it creates differences in electrical conductivity. This phenomenon creates the eyes into the furnace — the vision required to see the heat and the heating of the parts. There are three ways to heat something: via conductance, convection, and radiation. A thermocouple is a sensor that measures temperature. It consists of two different types of metals, joined together at one end.
As long as the tip of the thermocouple is the only junction along the length of the wire and it is placed in the correct location, it will “see” the particular method of heating.
Thermocouples can come in different types, such as noble and base-metal categories of materials and are further categorized by sheath considerations such as expendable (e.g. woven fabric) and non-expendable (e.g. metal sheath). A thermocouple is often designed and rated for specific temperature ranges, atmospheres in the furnace, and number of uses. AMS2750 lays this out in the respective tables by establishing recalibration and use frequencies based upon a temperature.
However, mV differences do not mean much from a heat-treat perspective, and these values need to be converted into a value of more meaning to be understood.

Calibrating
Instrumentation calibrations equal converting what the sensors see to something to which one of our human senses can relate. The instruments on a furnace take the signals from the sensors and convert the mV signals to degrees. This is the constant work that goes on during the entire process of controlling and recording the temperature cycle. Because of that, it becomes important to check the instruments of controlling and recording on a set frequency to make sure they are doing what they are supposed to be doing. AMS2750 requires specific instrumentation types to be defined and including how many and what types of instruments are needed to convert these signals on various parts of the furnace. Often, a customer will require a minimum instrumentation type to be followed. A common instrumentation type for a furnace is Type B.
Type B requires for actual instruments, an overtemp, controller, and recorder. For a Class 3 instrumentation Type B furnace, it is required to check these instruments on a quarterly basis with an accuracy of ±2°F or 0.2 percent, whichever is greater. (Although some customers might have a tighter accuracy requirement.)
One might think from the metallurgist’s perspective that this degree of accuracy seems insignificant on the microstructure if the temperature is 2,000°F or really 2,001°F and to further require the use of correction factors of the thermocouples that can vary 10ths of degrees to get a true reading of now 2,000.5°F, for example. This accuracy of temperature seems irrelevant when considering the activation energy required for the atom to diffuse into a vacant lattice site.
Often the heat-treat temperatures established for the process are not on the cusp of the potential energy required to move the atom, but in a range where it seems almost guaranteed. However, as an archer aims specifically at the bullseye to hit the target with an arrow, the focus in heat treat must be to an extreme point. This allows for the slightest miscue, while often still resulting in hitting the desired target.
System accuracy test (SAT)
Ideally, an SAT is used to make sure the system of sensor plus the lead wire plus the instrument all work. The system accuracy test, so nicely described in Revision F in comparison to Revision E, lays out three methods: comparison, alternate, and the waiver. This begins to test the overall function of the system when the elements are combined — how the eyes work in conjunction with the brain of the furnace. The components themselves can be working, but the overall combination of these components must work in unison. This test, although simple in nature, is often required by an auditor to witness during the Nadcap audit.
 In the zone
The Temperature Uniformity Survey (TUS) means defining the work zone and understanding the temperature variation in the furnace (defining the space of the furnace to be the working zone and determining the uniformity in each region of the furnace). It is the volume in which to guarantee the parts heat treat correctly and where the spatial recognition for the eyes of the furnace is monitored during a heat-treat cycle. This is a test that exposes the integrity of the furnace. Any wear-and-tear on the hot zone itself will result in temperature variations that exceed requirements. It’s a test of the heating components — such as graphite elements — in a vacuum furnace that is working correctly with no electrical shorts or inconsistent radiation.
The TUS really begins with the furnace design and the manufacturer’s responsibility to adequately design and control the heat the best way possible. It then requires the patience of the engineer to adjust the power to the zones and to trim the furnace parameters into tolerance.
Conclusion
Pyrometry is a requirement that can be intimidating, but, at the same time, it can bring clarity and control of a process. Beyond the specific technical requirements, it symbolizes steps to follow to ensure repeatability and confidence for a given heat-treat cycle. There is little room for error when flying a plane; similarly, on the ground, there should be no relaxation of the strict expectations of demanding a sound process that is in control to be as specific as possible. And to prove that quality counts, AMS2750 requires quality assurance personnel to sign off on the pyrometry records.


