Record retention is an important part of quality. Quality is tasked with keeping records of periodic tests performed on all equipment used for heat treatment and verification of heat treatment. These records are our objective evidence that required tests were performed in accordance with the referenced standards. Sometimes it’s a statutory or regulatory requirement to retain documentation for a certain period. It can also be required by one of your customers; it all depends on the contracts you accept.
Regardless of what is required of you, it’s widely understood that these records are important to the traceability of jobs and maintaining process approvals through compliance of these requirements. However, there is an added benefit to the quality department in keeping these records. In this article, I will identify two areas where retention of these records can help you troubleshoot nonconforming periodic tests. In my opinion, the two most important tests would be temperature uniformity surveys and hardness indirect verification.
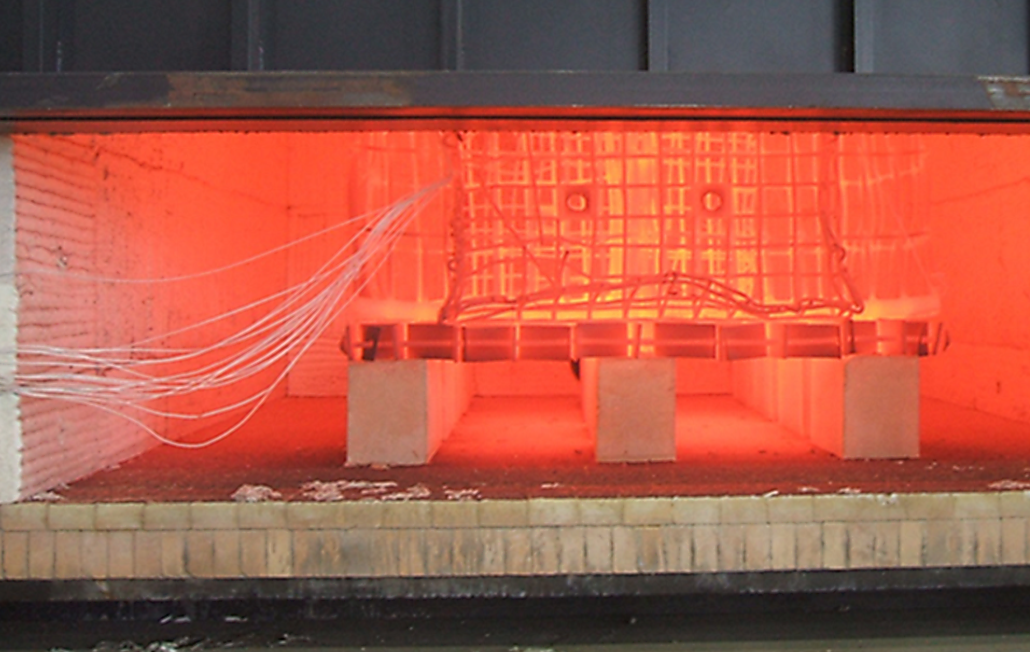
Let’s start with temperature uniformity surveys (TUS). For the sake of the article, let’s assume that everyone requires AMS 2750 for qualification of furnaces. Depending on your furnace class or type of material you are processing, there are specific uniformity characteristics that must be met for your furnace to be certified to AMS 2750 — depending on its furnace class. I can say with confidence that everyone has dealt with a failing test at one point — if not many more — in their career. Longevity at your job will affect the frequency of this occurring but make no mistake about it, it will happen. You could have an overshooting test temperature that is outside the bounds of tolerance, or you have a test temperature that is too low outside the bounds of tolerance. What can you do at this point? The obvious answer to most would be to start with containment and stop all processing in that furnace, followed by contacting all customers who have had jobs in that furnace since the last passing TUS. Product impact can be done in various ways, and is mostly dependent on how your system works.

After these steps are complete, how can you get your furnace back into compliance with AMS 2750? Repair may or may not be required, but you need to know where to start. This is where record retention comes into play and can help you determine the best course of action. The records you maintain have important data on the functionality and efficiency of your furnace. Think of it as an ongoing report card that tracks how well your furnace performs. The data from your furnace can exhibit similar uniformity characteristics with each successful TUS, but the data will never be identical. This is where historical data comes into the picture. By isolating the failed TUS sensor, you should be able to make some type of chart or graph that tracks the drift using data from the sensor’s history. Your chart or graph should show you where the drift of temperature is occurring and at what point it started to go in either direction. Personally, I like to use an Excel worksheet and color code temperatures to fit my needs, but there are many ways to accomplish this. It all depends on what works best for you. From there it’s up to you to decide how that data is interpreted and what course of action you plan to take.

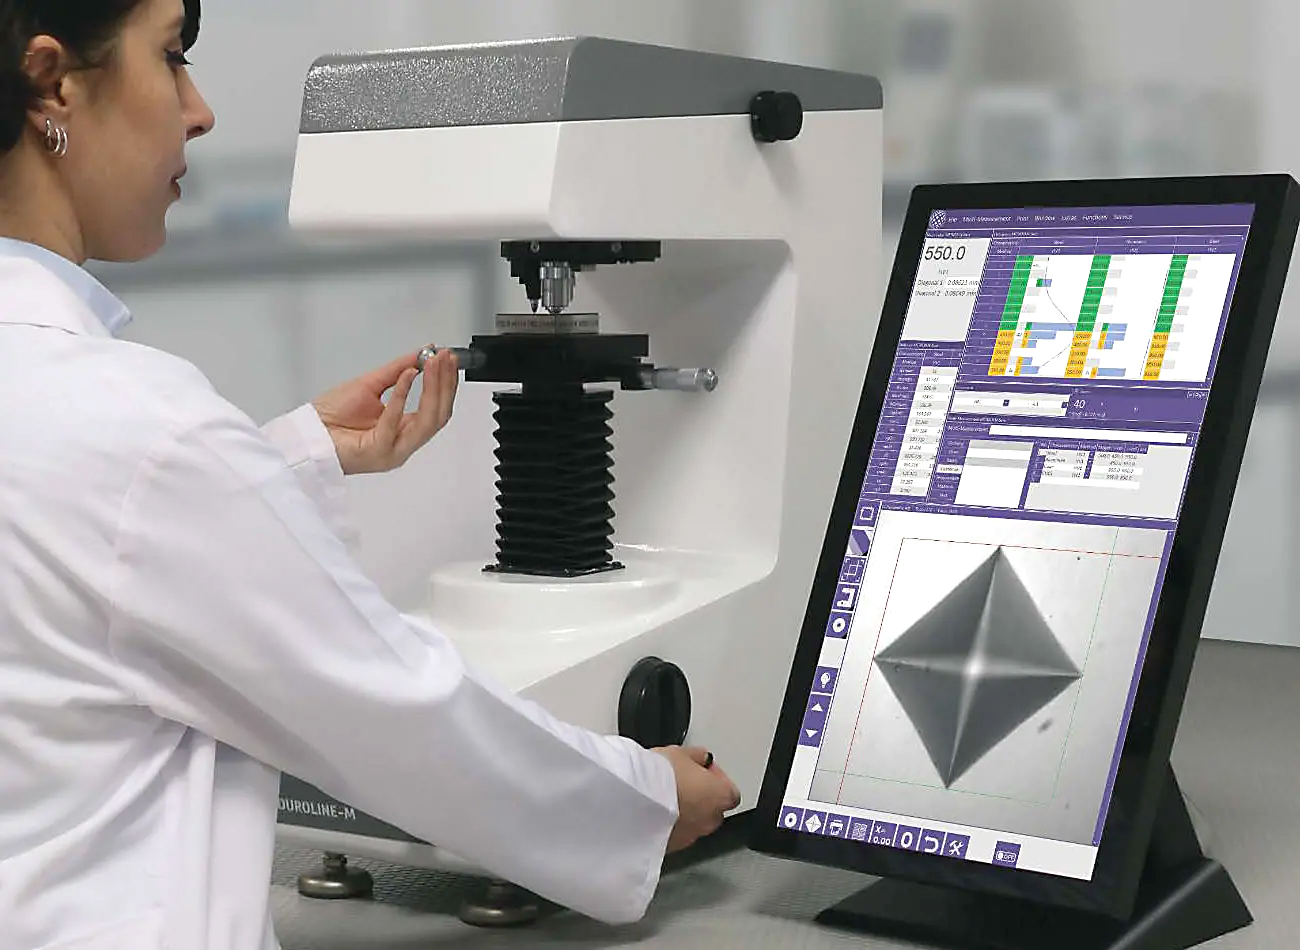
Indirect verification of hardness testers is another area where the records you maintain can help you identify causes of a nonconforming test. If you are testing in accordance with ASTM E18, there are two ways you can use your records to help you. The two methods are your daily verification records and your periodic indirect verification records. My company uses ASTM E18 for Rockwell hardness testing. This means we perform daily verification of our hardness testers. Although ASTM E18 does not require you to retain daily verification records, I strongly encourage it. As with your TUS records, by retaining your daily verification you can use that data to understand when your hardness testers start to exhibit erratic or failed readings. In my opinion, daily verification can identify problems much earlier than records for TUS. The reason is that the gap between conforming and nonconforming tests can be found as early as the same day when performing daily verification.
As an example, you could have a passing daily verification for a certain anvil, and on the same day see a nonconforming test on a different anvil. You could dive deeper and make a chart or graph (Excel in my case) that isolates each anvil used and see what the data tells you. It’s all up to you and your style. There could be numerous causes for a failed test — it could be a damaged indenter, or the machine was somehow moved out of its intended position. No matter what the cause is, retaining your records will help you identify a nonconforming test on your hardness tester and prevent you from using it to verify your heat treatment.
I understand that drift is not always the culprit to a failed TUS, and failure of hardness verification is not always as simple as a damaged indenter or a moved tester. There are numerous causes for each scenario. However, the records you keep are something that can help you when these situations happen. I have a philosophy that there is no such thing as too much data when it comes to quality. The more information you have and retain, the more prepared you are when failures occur. As I mentioned earlier, your longevity in quality will expose you more and more to these situations but you will have an arsenal of data to help you mitigate them.


