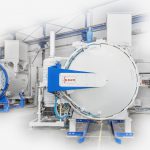
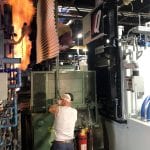
Ceramic fiber modules have been implemented in thermal oxidizer units (TOU) and vessels for more than 50 years, and they have become ubiquitous as the only choice for insulation in TOUs.
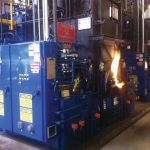
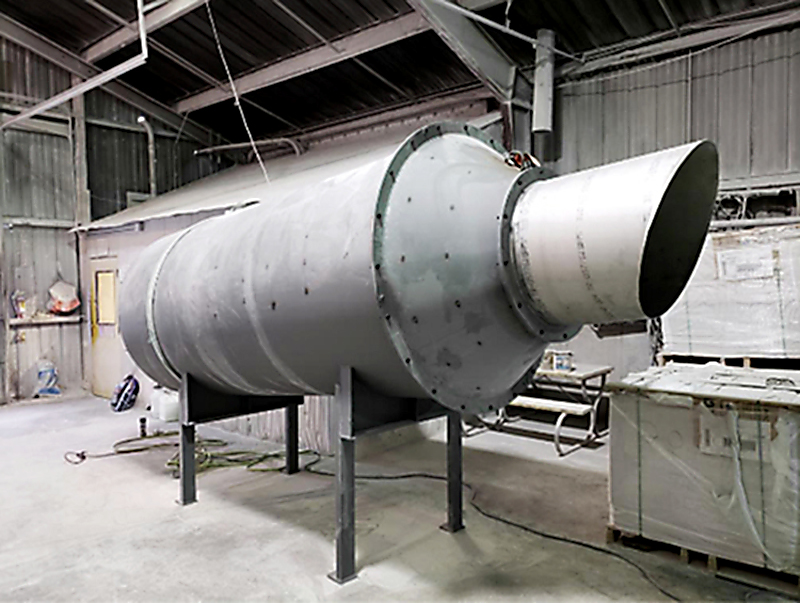
A thermal oxidizer unit is a degasser unit that destroys volatile organic compounds (VOCs) through thermal combustion. The precise reaction yields the biproducts of water and carbon dioxide — two biproducts that are considered generally safe to be released into the environment. Essentially, it’s a process that decomposes hazardous gases at high temperatures and releases heat. Therefore, it is also considered a HAP (hazardous air pollutants) reducer.
One example of a TOU CeraMaterials has worked on is an oxidizer at a plastics facility that collected solvents in the air and transported them through ductwork to its TOU, which then combusted and modified the solvent to an Earth-friendly fluid. The operating temperature of this particular unit was 1,400°F to 1,500°F.
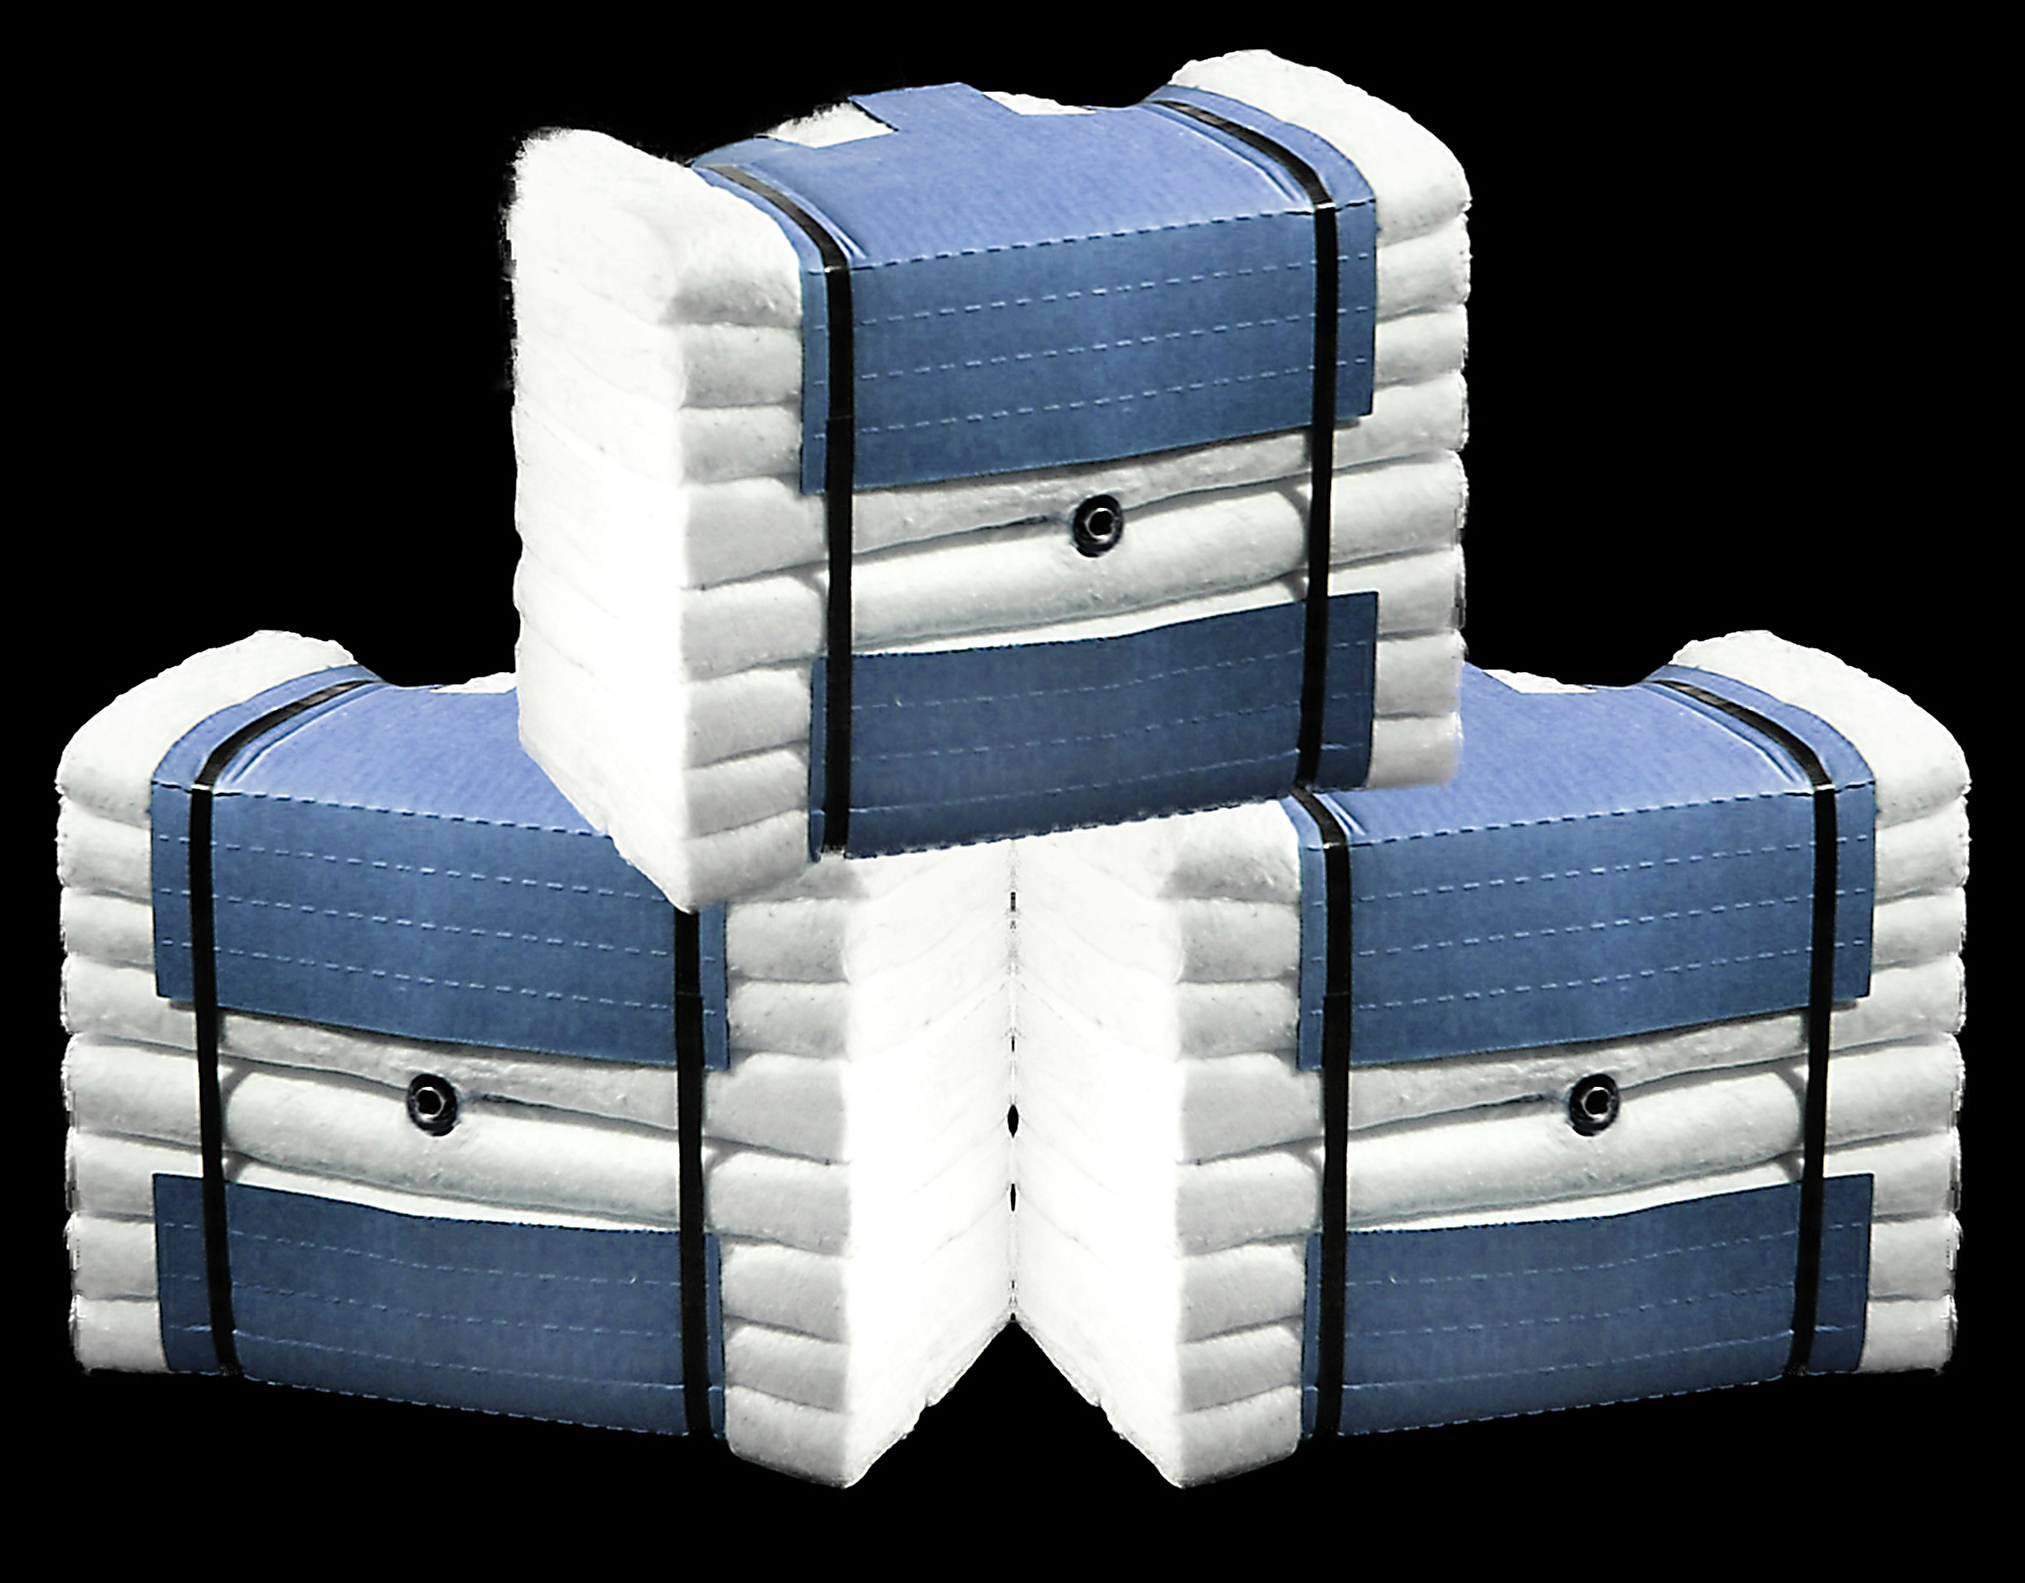
The versatility of ceramic fiber modules
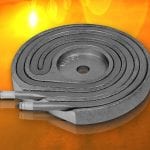
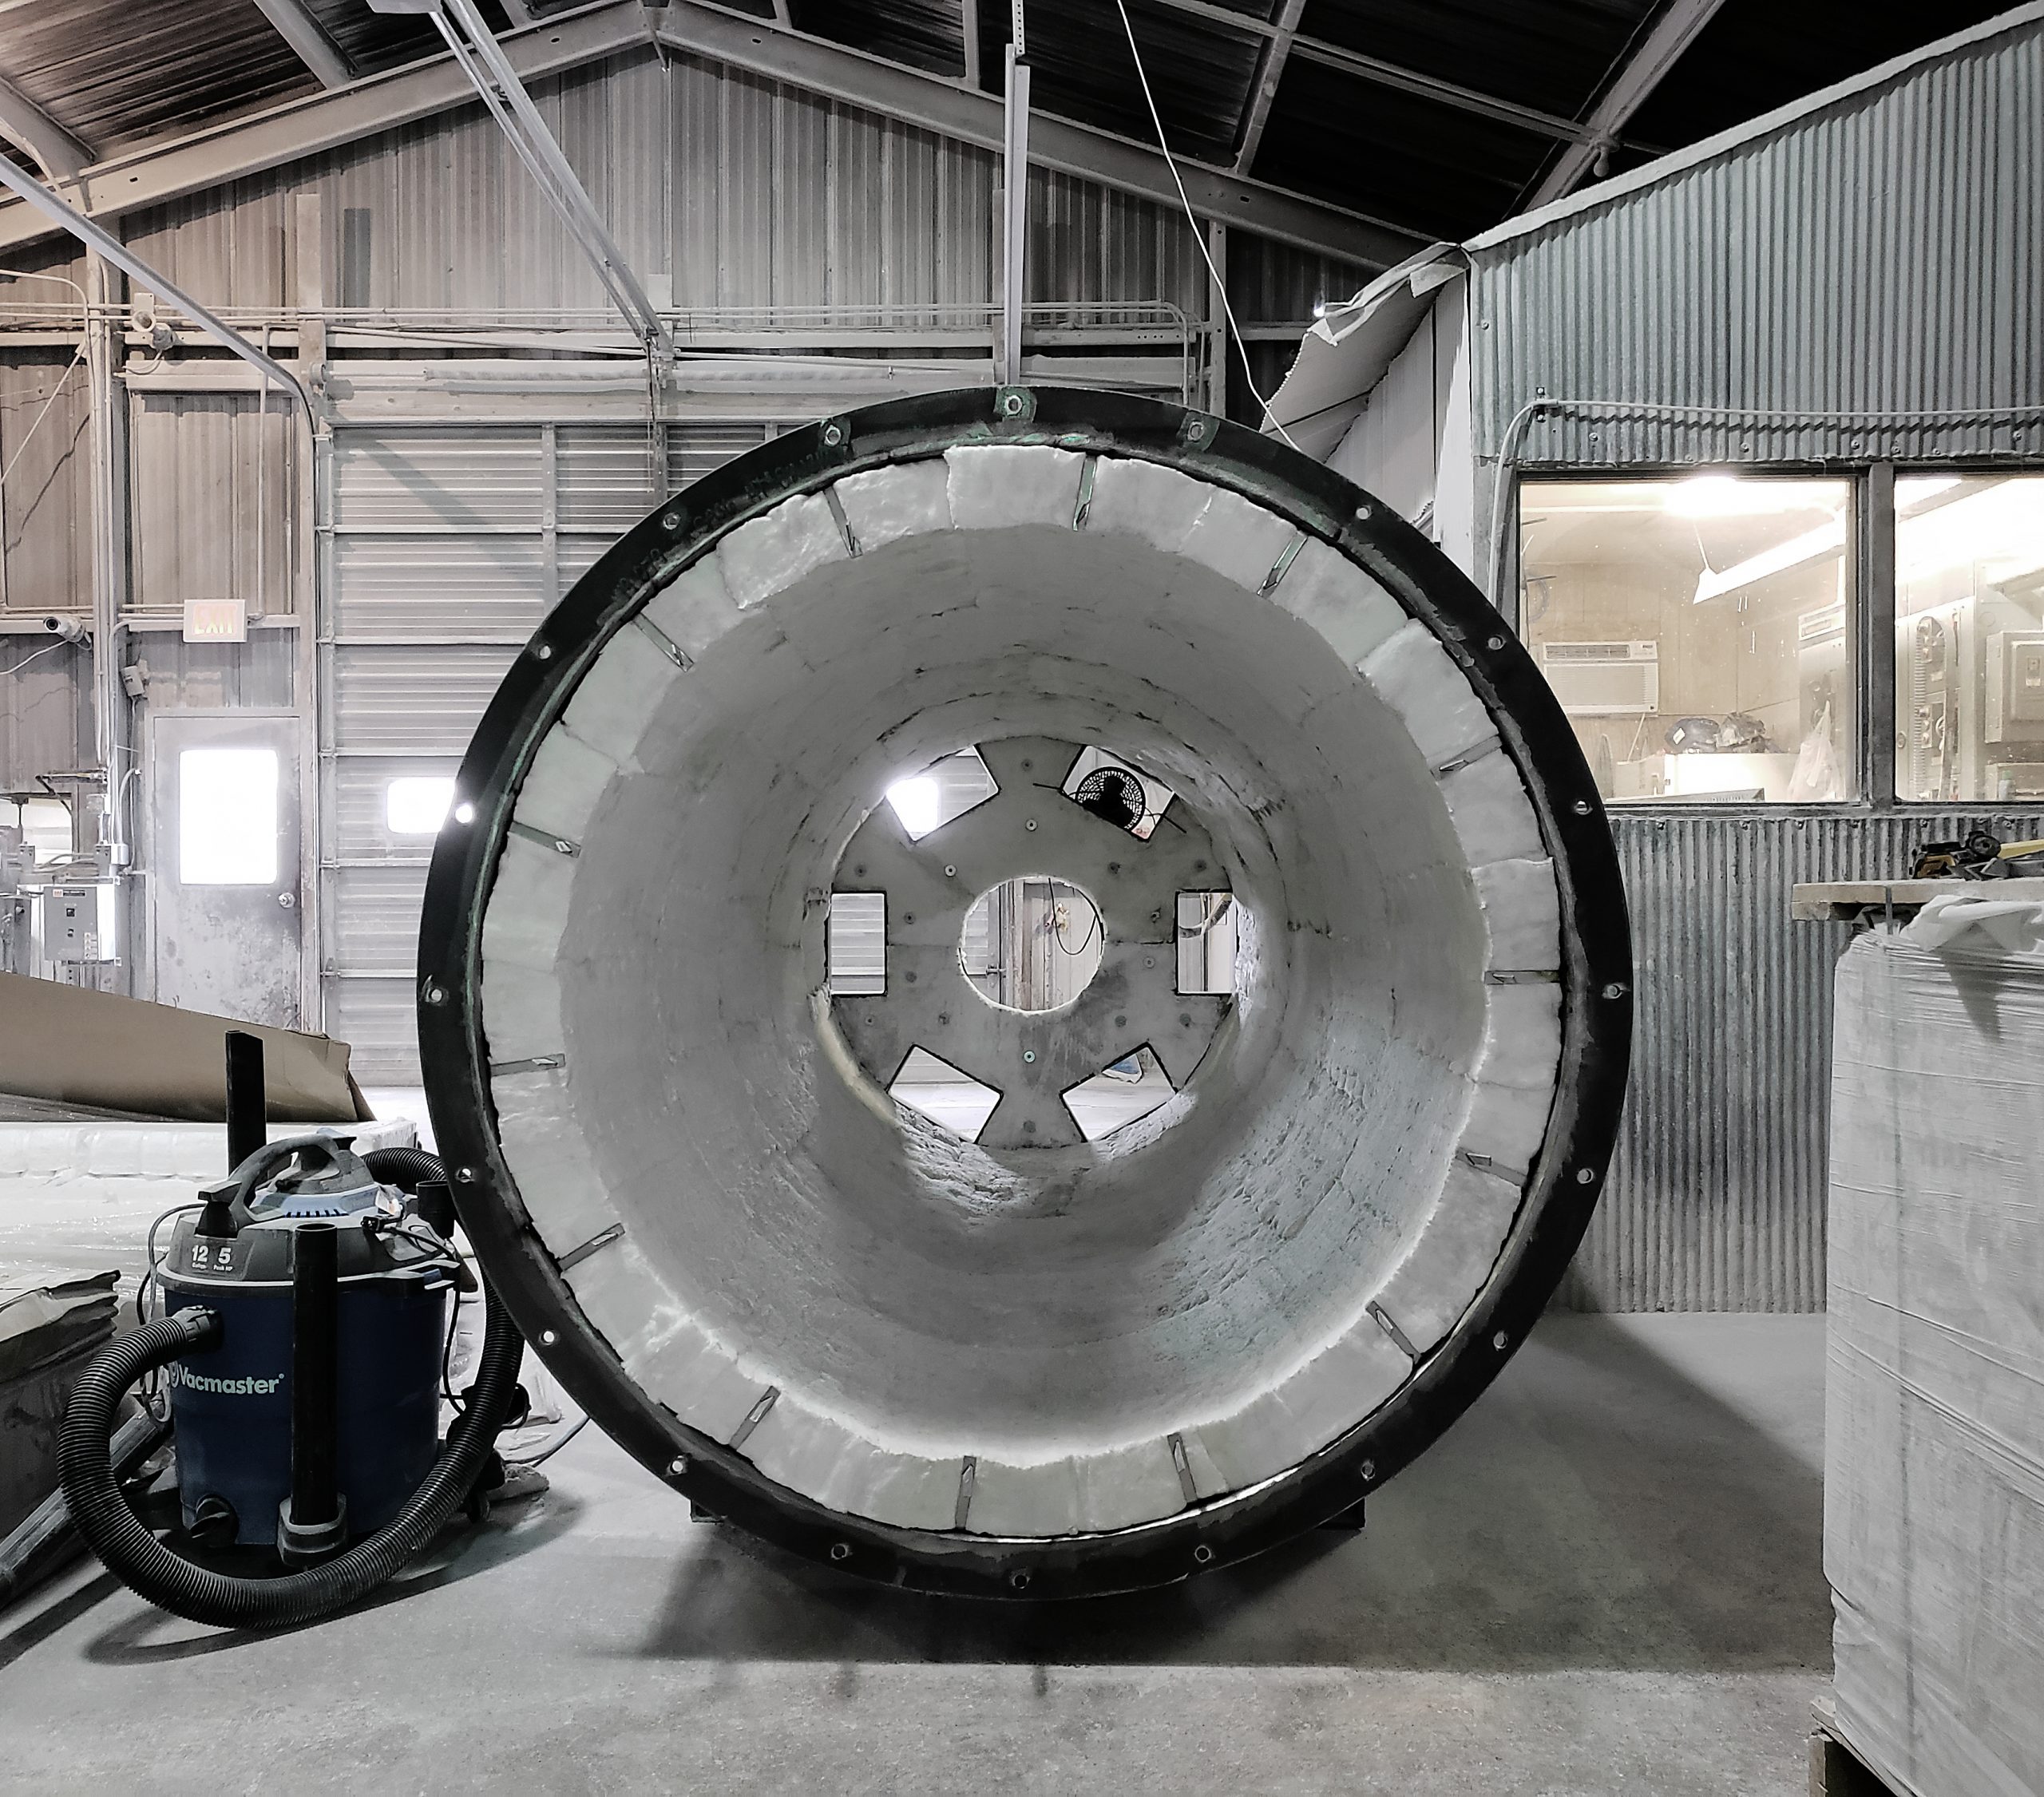
Ceramic fiber modules are typically refractory blocks of ceramic fiber blanket that are banded together to form a thick piece of insulative material. Modules can generally range from very small handheld 6” x 6” x 4” modules with simple hardware all the way to 12’ x 10’ x 2’ extremely large modules that need a crane to be installed on-site. Their density will range from 6 lb/ft3 (96kg/m3) to 15 lb/ft3 (240 kg/m3). Modules typically have a temperature range of 2,300°F (max rated for a blend of aluminosilicate fiber) to 3,000°F (mullite polycrystalline phase structure, or a 97 percent Al2O3 composition).
Because they can be extremely diverse in their applications, ceramic fiber modules are often the main choice when it comes to high-temperature insulation.
This is due to the nature of the ceramic fiber being easy to install, having the appropriate performance to reduce the internal temperature to something worker friendly and energy efficient on the cold-shell casing, and the fact that ceramic fiber blanket/modules can be obtained at a low cost compared to the rest of CeraMaterials’ catalog of materials.
In addition, the ceramic fiber blanket, attached with stainless steel pins and washers, has diminishing returns as the thickness of the refractory lining increases.
Where do the modules go?
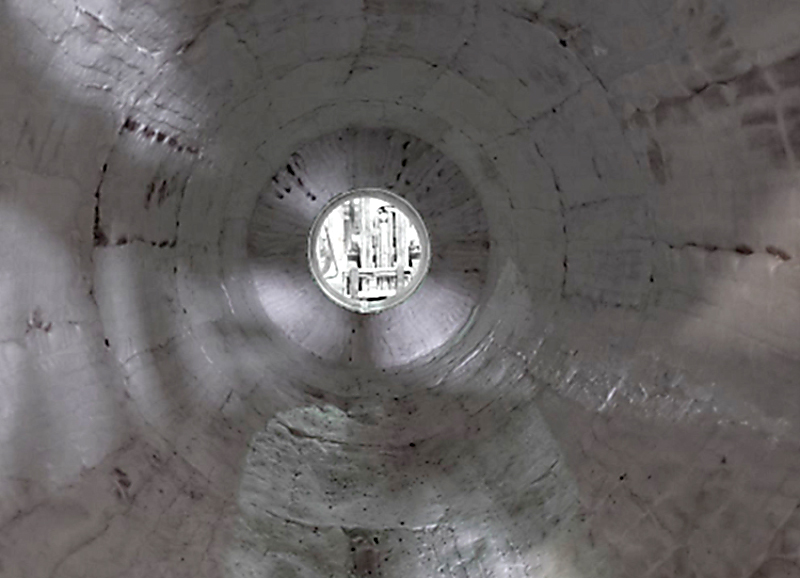
Typically, you will see ceramic fiber modules in large diameter sections of the TOU and ceramic fiber blanket in the smaller, tighter sections. It is much easier to pin ceramic fiber blanket onto a wall casing with a stainless-steel pin and a washer than it is to install a large, bulky module when you have a 24-inch diameter exhaust pipe.
The parts of the unit that are greater than 48 inches are typically the hotter zones, and thus require four to eight inches of the module’s thickness to achieve the required cold-shell temperature requested by the customer. Also, modules are more sought out than the blanket due to the fact that anything thicker than two inches of ceramic fiber blanket — attached with stainless steel pins and washers — is extremely labor intensive as you increase the thickness of the refractory lining.
Lastly, modules are faster to install if they are welded on with a pyro gun compared to using blanket, pins, and washers. Most TOUs use 2,300°F fiber, and rarely will you see a requirement for 2,600°F ceramic fiber. It is very likely that a TOU will never need the expensive 3,000°F polycrystalline flavor; 8 lb/ft3 density is usually sufficient and specified; 10.6 lb/ft3 is prevalent for companies that have it specified into their plans historically. Folded modules vs. edge grain, along with cardboard slip planes, are based on customer preference and provide little (or no) technical advantage to the overall efficiency of the TOU process.
Installing the modules
If your management (or engineers) has decided to install ceramic fiber modules and convert over from blanket and pins, there are specific guidelines one should consider before embarking on this journey. It is suggested that you only install modules with easy weld stud guns for concave walls. Spears, L brackets, and/or pre-welded studs are much too time consuming for curved surfaces and require extensive planning.
The specifications of the weld must include:
1. A test piece of metal will be essential. It should be the same material as the TOU or vessel, preferably 12-gauge steel. This will be used for target practice to get the gun up and running to where your coworkers are comfortable. It’s important that the gun operator gets in some practice before proceeding with the actual weld since multiple actions are happening within a short, arc burst. A piece of test metal should be as large as possible — 24” x 24”, for example.
2. It is essential that the chosen welder have a minimum of 300 amps with a DC voltage of 75 to 125. The welder also needs a “ground” cable.
3. Since welding guns can be equipped with either a 110- and/or 220-volt capacity, make sure an outlet is available that can handle either.
4. Don’t forget to have proper welding and safety equipment available for anyone in the vicinity who might be working with the gun. Once the first test weld (on the test metal) is successfully completed, then the actual installation can proceed.
Helpful hints
- Make sure you don’t paint yourself into a corner. Install the innermost modules first, so you aren’t stepping over the floor modules later.
- Have a sawzall on-site to trim modules around tight corners.
- Prepare for welding misfires. Order approximately 10 percent extra hardware.
- Apply a rigidizer or ITC coating (after all modules are installed) for superior performance, lifetime, and safety.


